DTF Transfers
For fabric
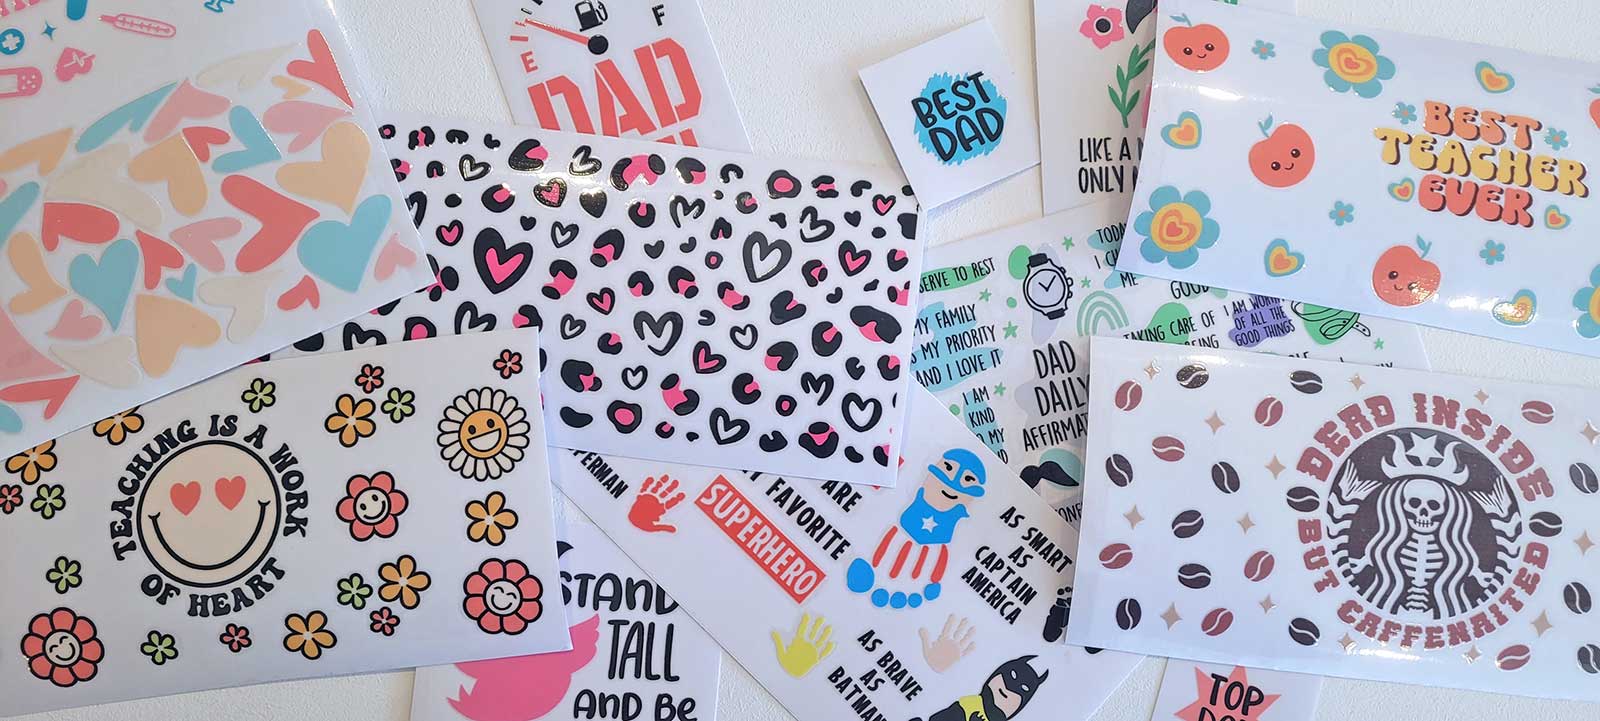
UV DTF Stickers
For glass, metal, wood & other hard flat surfaces
Notice: We will be CLOSED on Monday 16 June. We apologise for any inconvenience |
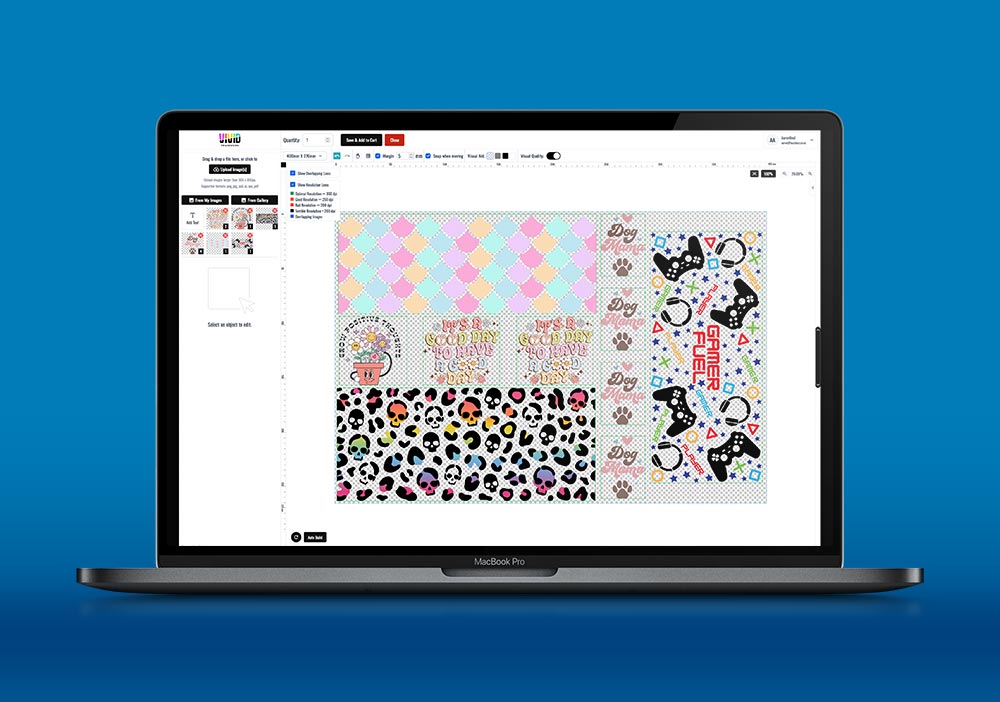
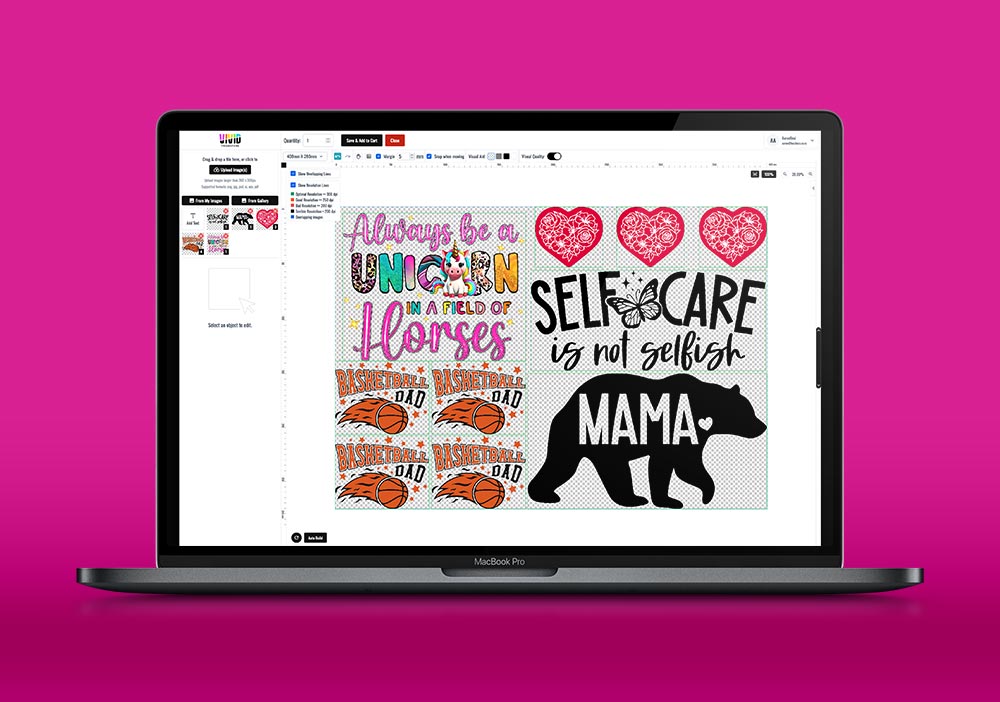
We're excited to guide you through the process of using UV DTF transfers, an innovative and versatile printing method that brings your designs to life on hard, flat surfaces. In this post, we'll walk you through the step-by-step instructions for applying Ultraviolet Direct to Film (UV DTF) transfers, allowing you to achieve high-quality, durable prints that make a lasting impression.
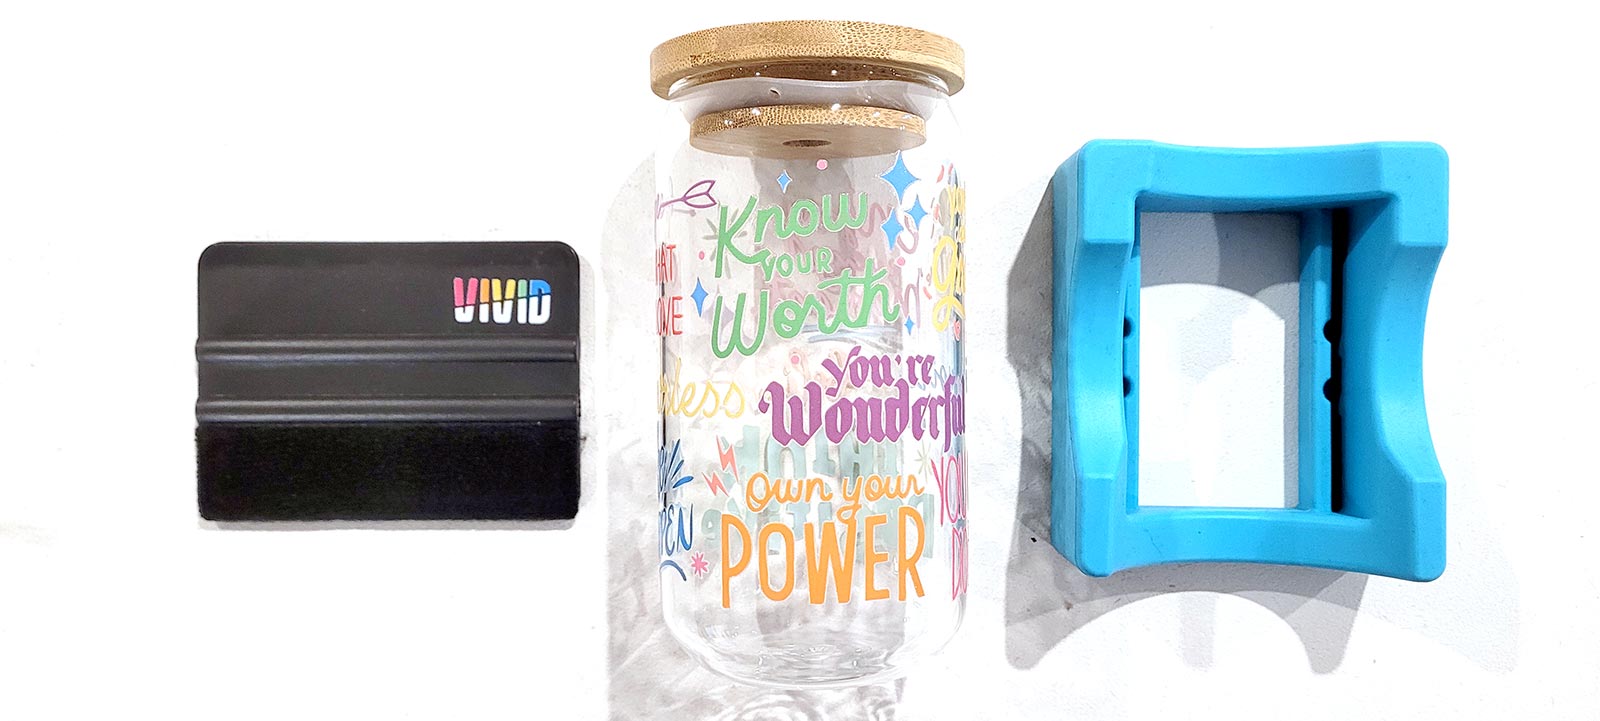
To begin, the first step in using UV DTF transfers is to cut out the design. Armed with a sharp pair of scissors or a cutting machine, carefully cut along the edges of your printed design. This step ensures that you have a precise outline of your artwork, ready to be transferred onto your chosen surface.
Next, it's crucial to prepare the surface on which you'll be applying the UV DTF transfer. Clean the surface thoroughly, ensuring it is free from any dust, dirt, or debris that may compromise the quality of the print. This step guarantees a smooth and flawless application, allowing your design to shine through without any interference.
Now, it's time to apply the UV DTF film onto the prepared surface. Carefully remove the white sheet located underneath your print, revealing the adhesive side of the UV DTF film. Align the film correctly with your surface, making sure it matches your desired placement. Take your time to ensure precise positioning, as this will determine the final outcome of your print.
Once the UV DTF film is in place, it's time to apply pressure. Utilize a squeegee or roller to exert even pressure across the entire surface of the UV DTF film. This step is crucial for ensuring that the ink adheres properly to the surface, allowing for a seamless transfer. Applying consistent and firm pressure guarantees that your design transfers accurately, capturing all the intricate details and vibrant colors.
With the pressure applied, the next step is to remove the clear UV DTF film from the surface. Gently peel off the film, taking care to ensure that the design has transferred correctly and adhered to the surface. As the film comes off, your design will be revealed in all its high-quality glory, showcasing the remarkable precision and vibrant colors achieved through UV DTF transfers.
Congratulations! Your UV DTF transfer is now complete. Take a moment to admire the high-quality, durable print that adorns your chosen hard, flat surface. Whether it's ceramic tiles, glass, metal, or other materials, UV DTF transfers provide a versatile and effective solution for transforming ordinary surfaces into works of art.