DTF Transfers
For fabric

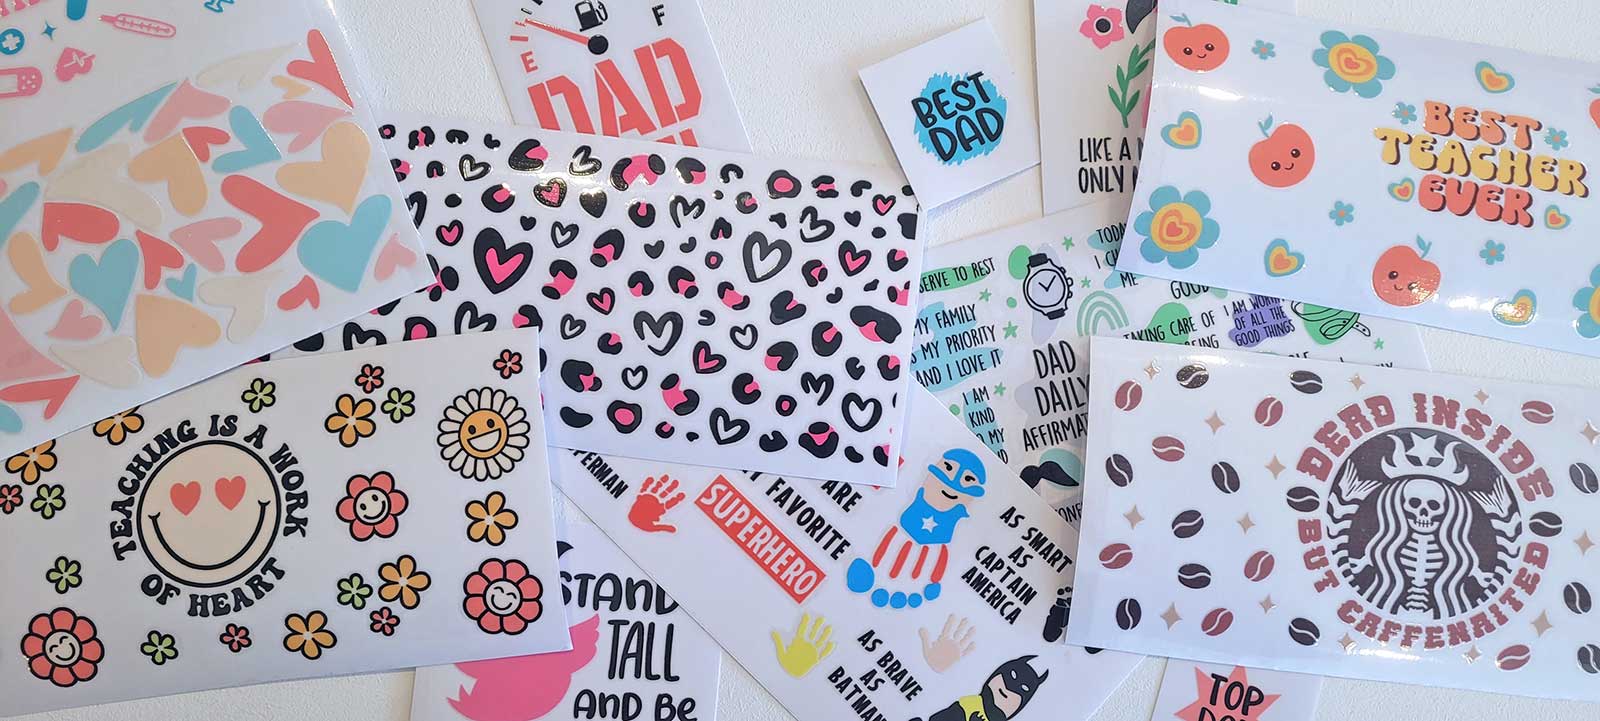
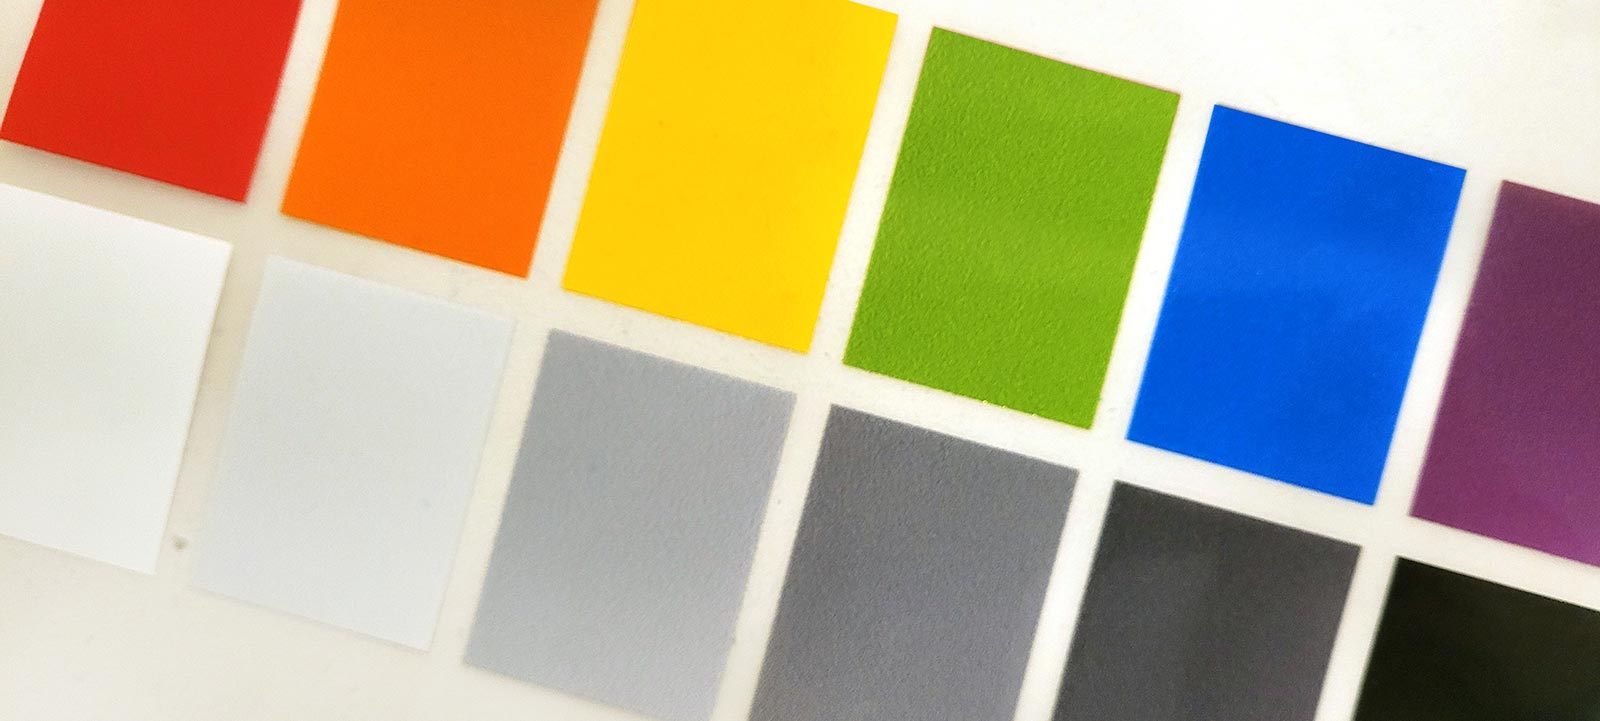
UV DTF Stickers
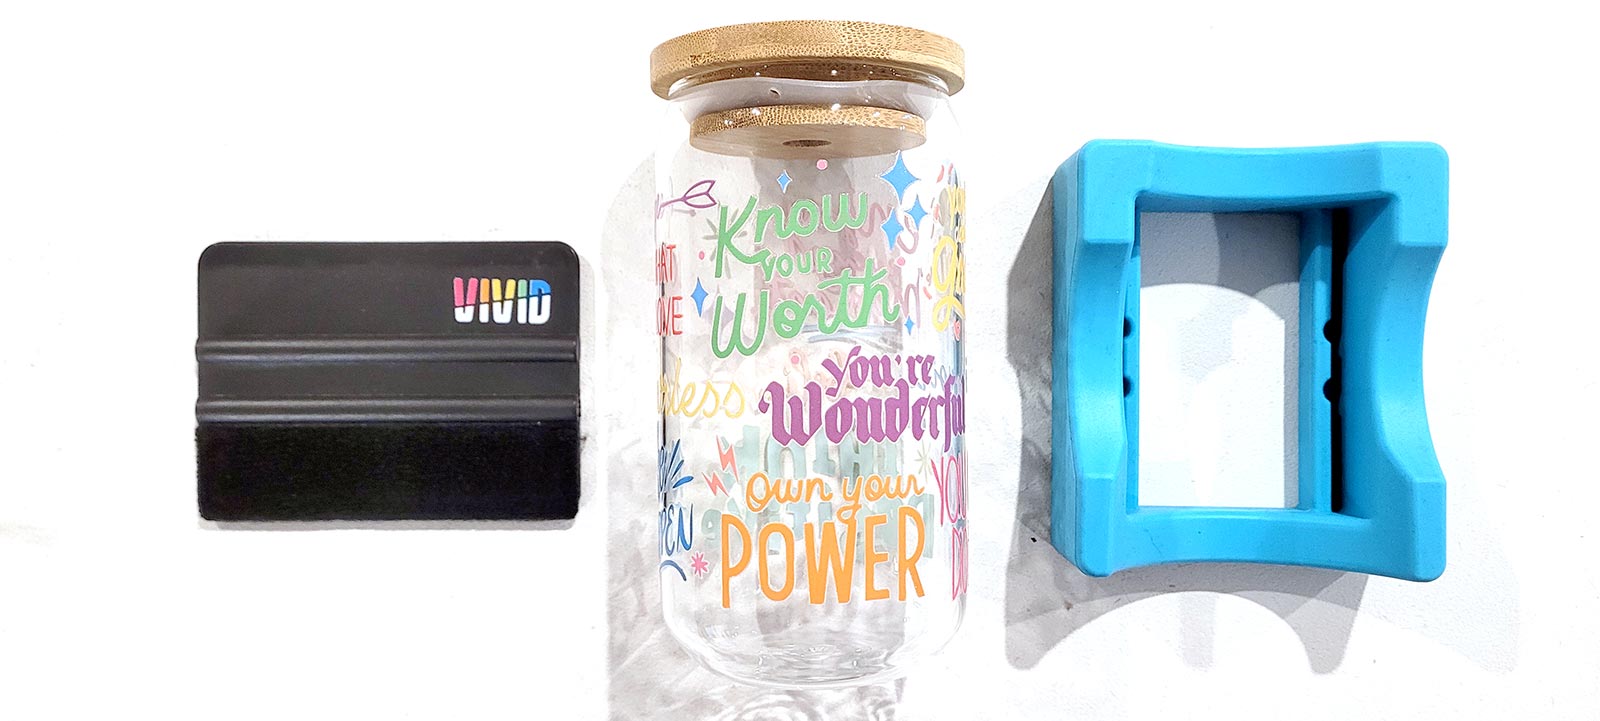
For glass, metal, wood & other hard flat surfaces
Notice: We will be CLOSED on Monday 16 June. We apologise for any inconvenience |
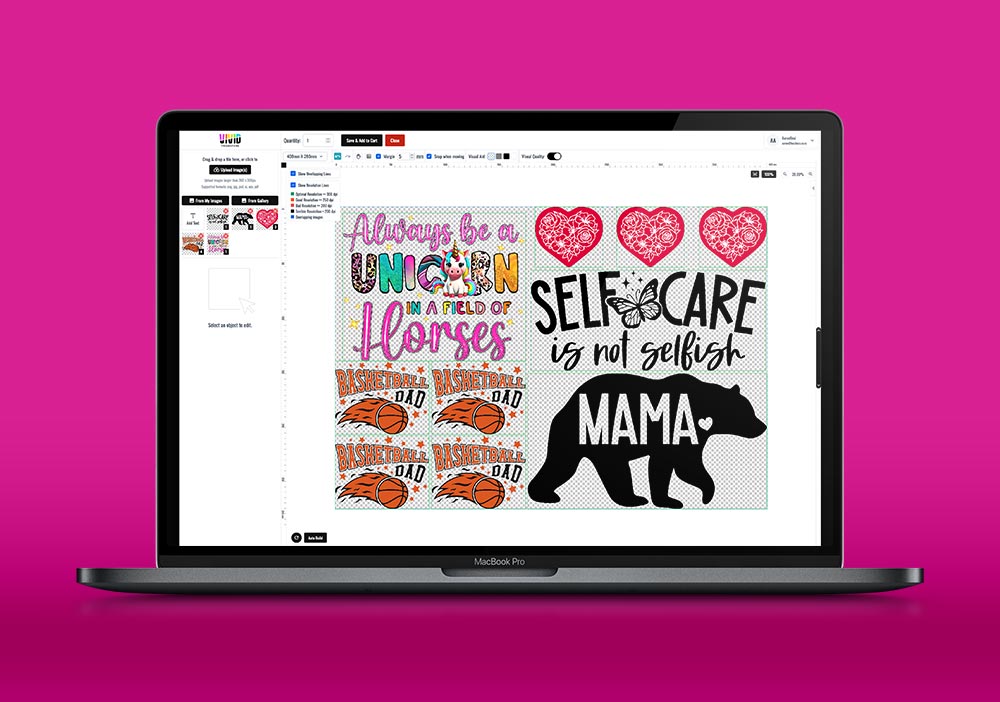
In this article, we will guide you through the step-by-step process of using ready-to-press DTF transfers, ensuring that you achieve flawless results with each application and get the most of your Direct to Film (DTF) transfers.
Using DTF transfers allows you to unleash your creativity and bring your designs to life on various fabrics. Whether you're a seasoned professional or new to the world of ready to press Direct To Film transfers, understanding the proper application techniques is crucial to achieving vibrant and long-lasting prints.
The process begins with pre-pressing the garment, which involves applying heat and pressure to remove moisture and wrinkles, ensuring a smooth surface for the transfer. This step sets the foundation for a successful application and ensures that the design adheres seamlessly to the fabric.
Next, lint rolling becomes essential to eliminate any unwanted fluff, hairs, or debris that may interfere with the transfer. A simple tool such as a lint roller can easily remove these particles, ensuring a clean and pristine surface for your DTF transfer.
Once the garment is prepared, it's time to carefully place the DTF transfer onto the fabric, ensuring the design faces up. The precise alignment and placement play a crucial role in achieving a visually stunning result. You can use a ruler to assist with placement too.
The heart of the process lies in the heat press. The film and fabric are sandwiched together and subjected to both heat and pressure. This combination causes the ink on the film to melt and bond with the fabric, creating a permanent and vibrant transfer.
After the transfer is heat pressed, let it cool, the film is then gently peeled away, leaving behind your beautifully printed design.
The final step to maximise the durability and quality of the print is to perform a quick heat press with high pressure and heat, covering the design with baking or parchment paper. This ensures that the transfer fully adheres to the fabric, guaranteeing a long-lasting and professional finish.
Remember to always consult the specific temperature and press time recommendations provided on the product page of each transfer, as they may vary depending on the design and materials used.
By following these step-by-step instructions, you'll be able to utilize DTF transfers to their fullest potential, achieving exceptional results with every application. So, let's dive in and discover the techniques that will make your designs shine through the remarkable power of DTF technology!